Log a table
In this step, you create a table and log it to W&B so that it’s available for visualization later in the walkthrough. You can either construct a new table or pass a pandas DataFrame.- Construct a table
- Pandas DataFrame
To construct and log a new table, use the following:
wandb.init(): Create a run to track results.wandb.Table(): Create a new table object.columns: Set the column names.data: Set the contents of each row.
wandb.Run.log(): Log the table to save it to W&B.
Visualize tables in your project workspace
After logging a table, you can view it in W&B.- Navigate to your project in W&B.
- Select the name of your run in your project workspace. W&B adds a new panel for each unique table key.
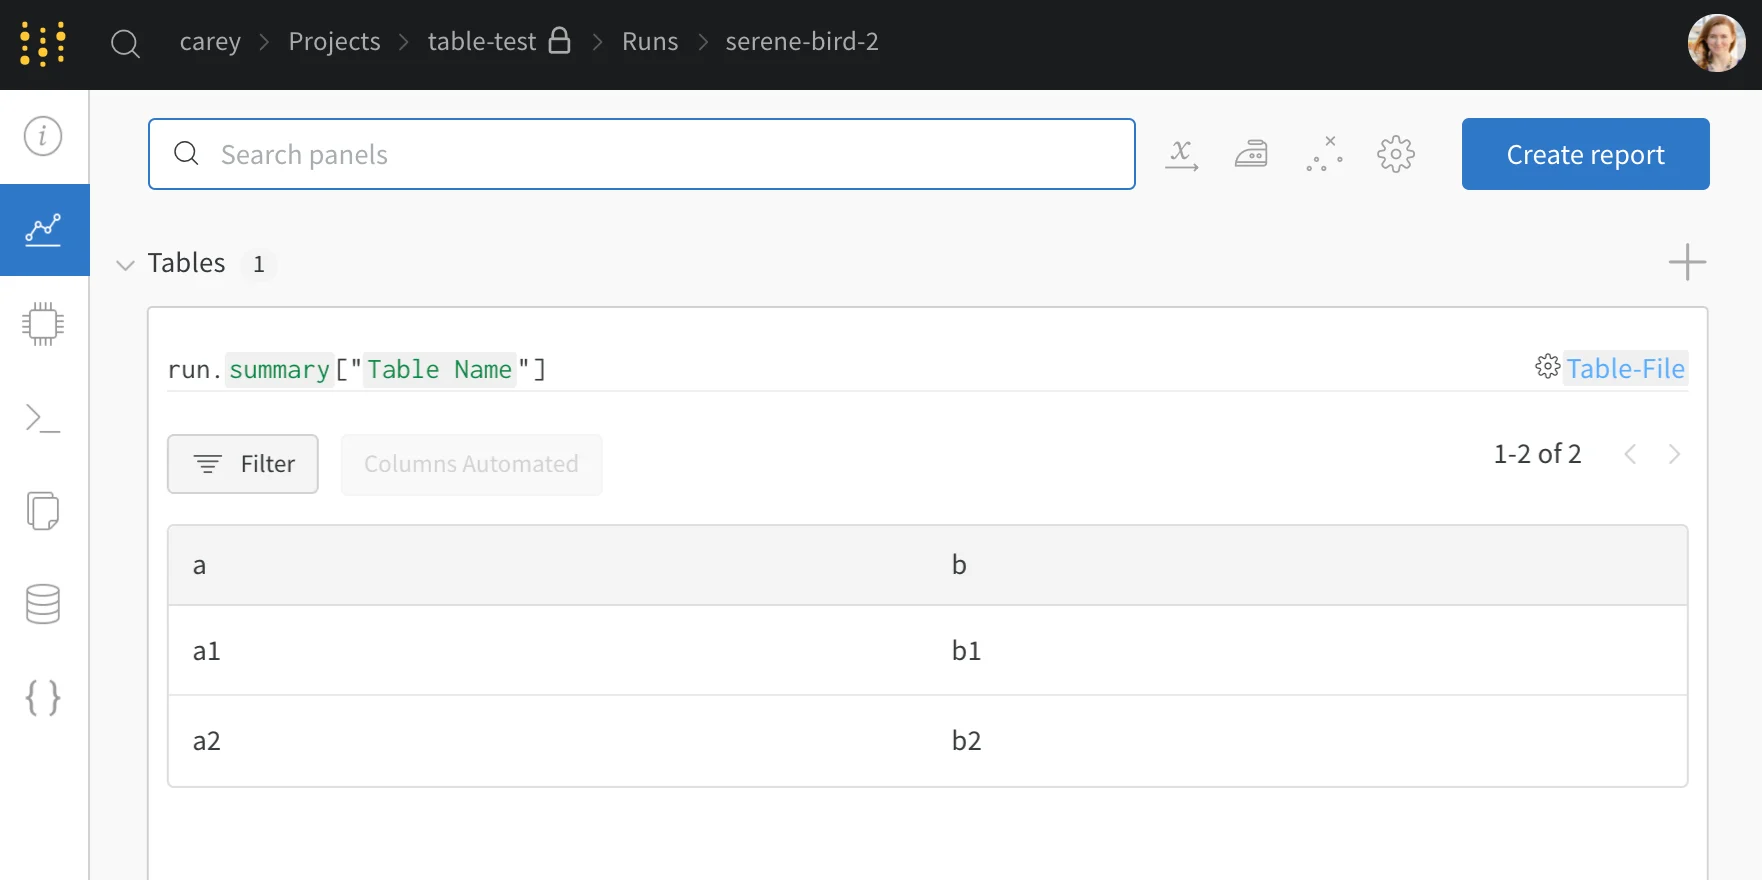
my_table is logged under the key "Table Name".
Compare across model versions
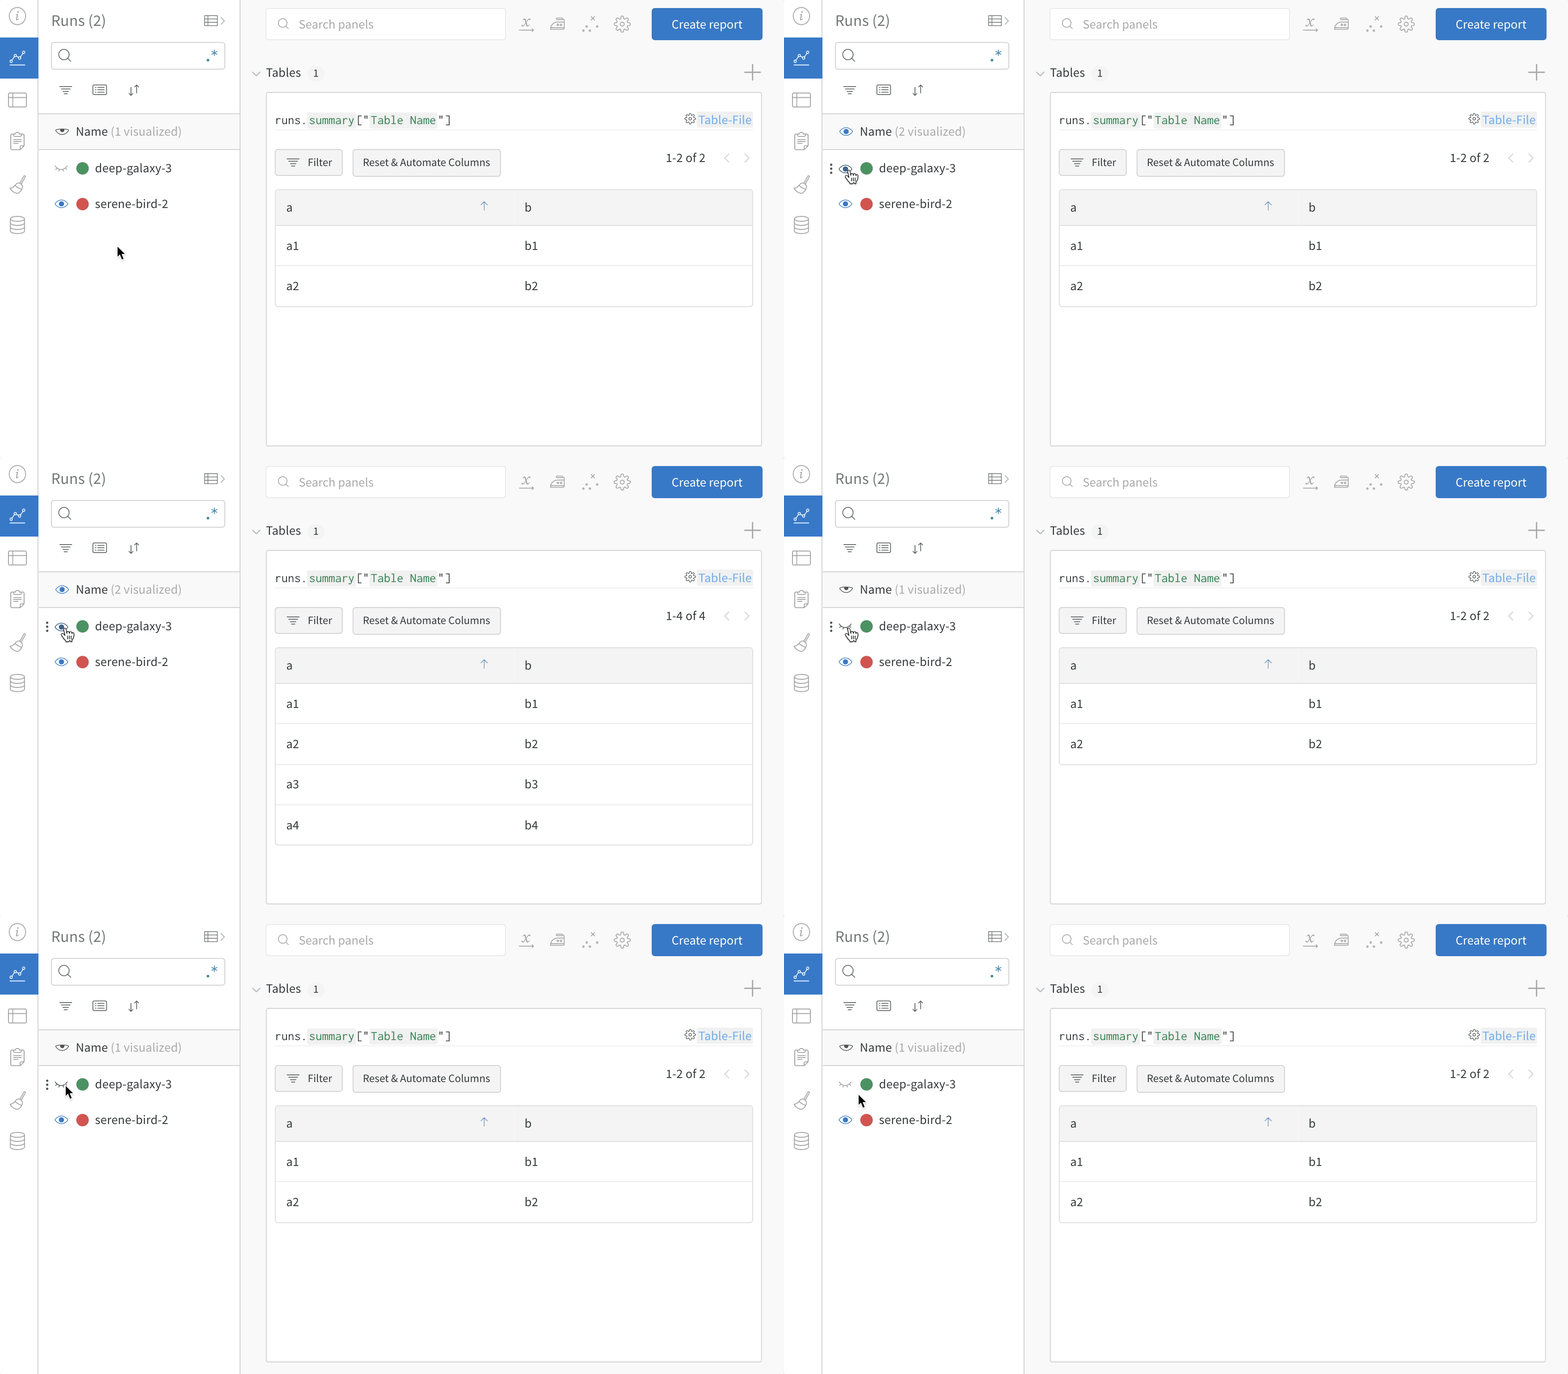
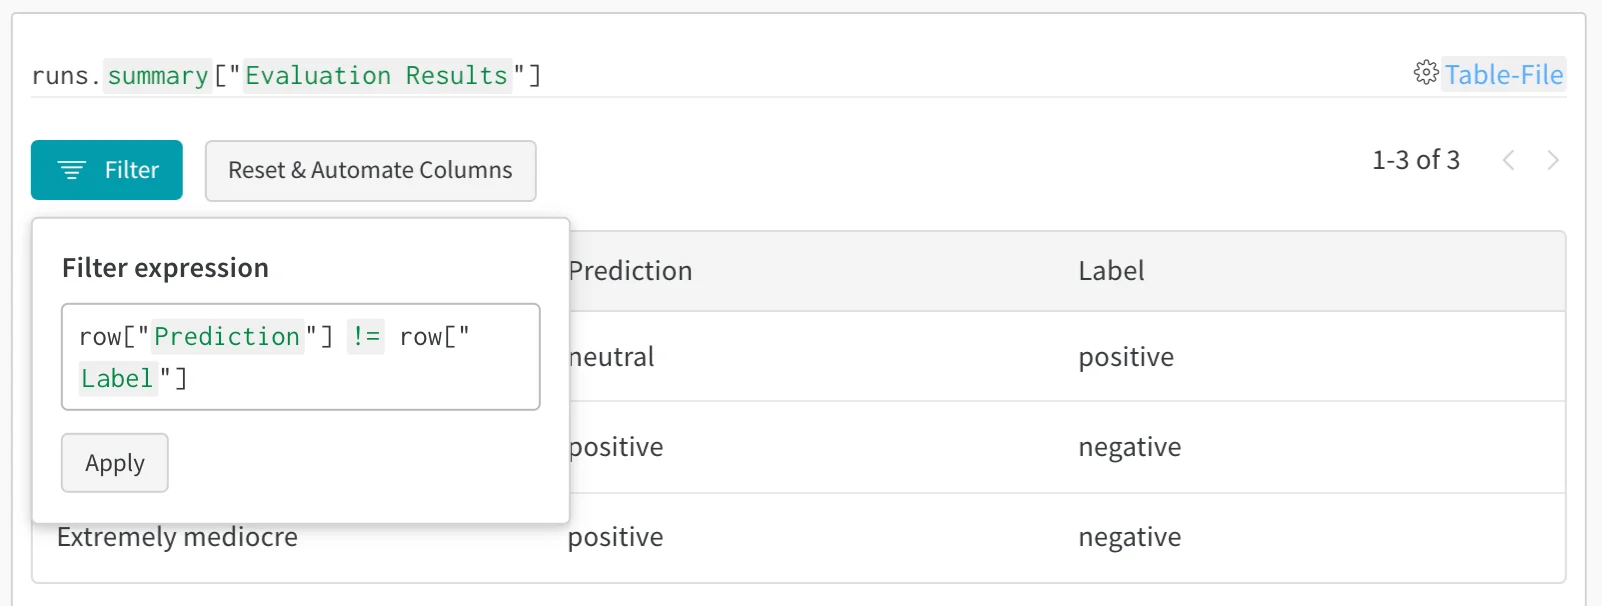
After you have logged tables from more than one run, you can use the project workspace to compare results side by side and evaluate how model versions differ. After you log tables from multiple W&B runs, compare results side by side in the project workspace to evaluate differences between model versions. This example workspace shows how to combine rows from multiple versions in the same table.